
As winter fades away, it’s time to get your outdoor space ready for the new season. If you’re eager to jump into the pool in the warm weather, a thorough spring opening is essential.
Opening your pool after a cold winter requires some effort, but with a clear guide, you’ll be swimming in no time. This comprehensive guide will walk you through the necessary steps, from removing the winter cover to balancing the water chemistry.
Key Takeaways
- Remove and clean the winter cover
- Inspect the pool and its equipment
- Balance the water chemistry
- Shock the pool to remove contaminants
- Test and adjust the pool’s circulation system
Preparing for Your Pool Opening
The moment has arrived to transform your pool from a winterized state to a refreshing oasis. Before you start opening your pool, it’s essential to gather the necessary tools and chemicals to ensure a smooth transition.
Gathering Necessary Tools and Chemicals
To open your pool successfully, you’ll need a few critical items. These include:
- A pool test kit to check water chemistry
- Chlorine or other sanitizers to maintain clean water
- Algaecide to prevent algae growth
- A pool skimmer to remove debris
Having these tools on hand will make the process more efficient.
Creating Your Pool Opening Checklist
A comprehensive checklist is vital to ensure you don’t miss any crucial steps during the pool opening process. Your checklist should include:
- Inspecting the pool and its surroundings
- Cleaning the pool surface and removing debris
- Checking and maintaining pool equipment
- Balancing the water chemistry
By following this checklist, you’ll be able to enjoy a safe and clean swimming experience all season long.
Assessing Winter Damage to Your Pool
As winter’s chill begins to fade, it’s crucial to inspect your pool for any damage incurred during the cold months. Winter can be harsh on your pool, causing potential issues that need to be addressed before the swimming season begins.
Common Winter Damage Issues
Inspecting your pool for damage involves checking for both structural and equipment-related problems. Common issues include cracks, leaks, and worn-out parts.
Structural Damage Signs
Look for signs of structural damage such as uneven coping, shifting pavers, or cracks in the pool shell. These issues can lead to more significant problems if not addressed promptly.
Equipment Damage Signs
Check your pool equipment for signs of damage like rust, corrosion, or worn-out seals. Damaged equipment can lead to inefficient operation and safety hazards.
When to Call a Professional
If you’re unsure about the extent of the damage or need help with repairs, it’s wise to consult a professional. They can assess the situation and provide the necessary fixes to ensure your pool is safe and functional.
| Damage Type | Signs to Look For | Action Required |
|---|---|---|
| Structural Damage | Uneven coping, cracks in the pool shell | Consult a professional for repair |
| Equipment Damage | Rust, corrosion, worn-out seals | Replace or repair damaged equipment |
Removing and Storing Your Winter Pool Cover
Removing the winter pool cover is a crucial step in preparing your pool for the swimming season. This process involves several important steps to ensure your pool and its surroundings are not damaged.
Pumping Water Off the Pool Cover
The first step in removing your winter pool cover is to pump off any water that has accumulated on top of it. Use a submersible pump or a wet/dry vacuum to remove this water, as it can be heavy and potentially damage the cover or pool if not handled properly.
Safely Removing the Cover
Once the water is pumped off, you can start removing the cover. Do this carefully to avoid scratching the pool surface or surrounding areas. It’s helpful to have someone assist you in folding or pulling the cover off the pool.
Cleaning and Storing Your Winter Cover
After removal, clean the cover thoroughly before storing it.
Proper Folding Techniques
Fold the cover neatly to prevent creases and damage. This makes it easier to store and helps maintain the cover’s integrity for the next winter.
Storage Solutions
Store the cleaned and folded cover in a dry, protected area away from direct sunlight. This helps prolong its lifespan and keeps it ready for the next winter.
Cleaning the Pool Surface and Surrounding Area
Once the winter cover is off, inspect and clean the pool surface, deck, and coping to ensure a safe and enjoyable swimming experience. This step is crucial in preparing your pool for the new season.
Removing Debris from the Pool
The pool may have accumulated leaves, dirt, and other debris during the winter months. Use a skimmer or a pool vacuum to remove these unwanted materials. Start by skimming the surface to remove floating debris, then proceed to vacuum the pool floor and walls to ensure a thorough clean.
Cleaning the Pool Deck and Coping
The pool deck and coping can also accumulate dirt and grime. Use a mild detergent and a soft-bristled brush to clean these areas. Pay particular attention to any stubborn stains or dirt buildup. After cleaning, rinse the deck and coping thoroughly to prevent any soap residue from affecting the pool water chemistry. With the pool surface and surrounding area clean, you can proceed to reconnect pool equipment and reinstall pool ladder, getting your pool ready for use.
Reconnecting Your Pool Equipment
As winter fades, reconnecting your pool equipment is a crucial step in preparing your pool for the new season. This process involves several key steps to ensure your pool is safe and ready for swimming.
Removing Winter Plugs from Pool Equipment
The first step in reconnecting your pool equipment is to remove the winter plugs. These plugs were installed to protect your equipment from debris and freezing temperatures during the winter months. Carefully remove these plugs from the equipment, such as the skimmer and return lines, to allow for proper water circulation.
Reinstalling Pool Ladders and Accessories
Next, reinstall any pool ladders and accessories that were removed for winter. Ensure they are securely fastened to prevent accidents. Check that all connections are tight and that the ladders are stable.
Setting Up Your Pool Pump and Filter System
Setting up your pool pump and filter system is a critical step. Start by inspecting the pump and filter for any damage or debris accumulated during the winter. Follow the manufacturer’s instructions for specific guidance on setting up your particular filter type.
Sand Filter Preparation
For sand filters, check the sand condition and replace it if necessary. Backwash the filter to remove any debris.
Cartridge Filter Preparation
For cartridge filters, clean or replace the cartridges according to the manufacturer’s instructions.
DE Filter Preparation
For DE filters, inspect and clean the grids, and recharge with new DE powder if needed.
After setting up your filter, ensure your pool pump is properly connected and primed. Understanding how to prime a pool pump is essential for efficient operation.
How to Prime a Pool Pump After Winter
Getting your pool pump primed after winter is vital for a safe and healthy swimming environment. Priming the pump ensures that your pool’s circulation system is working efficiently, which is crucial for maintaining clean and clear water.
Step-by-Step Priming Process
To prime your pool pump, start by turning off the power to the pump. Then, remove any debris from the pump basket and inspect the O-ring for damage. Next, reattach the pump lid and turn on the pump. You may need to add water to the pump basket to help prime the system.
Troubleshooting Priming Issues
If you encounter issues while priming your pool pump, there are several things you can check. Common problems include air leaks in the system and motor issues.

Air Leaks in the System
Air leaks can prevent your pump from priming properly. Check the pump lid, pipes, and fittings for any signs of leaks.
Motor Problems
If the motor is not running, check the power supply and circuit breaker. Ensure that the motor is properly seated and that there are no blockages.
| Issue | Cause | Solution |
|---|---|---|
| Air Leaks | Loose connections or damaged O-rings | Tighten connections or replace O-rings |
| Motor Not Running | Power supply issues or blockages | Check power supply and clear blockages |
| Pump Not Priming | Debris in pump basket or air leaks | Clean pump basket and check for air leaks |
Balancing Your Pool Water Chemistry
Properly balancing your pool’s water chemistry is essential for preventing damage to your pool and equipment while ensuring a safe swimming environment. This process involves several key steps, starting with testing your pool water to determine its current chemical state.
Testing Your Pool Water
Begin by using a comprehensive pool test kit to check the water’s pH, alkalinity, and calcium hardness levels. This initial test will provide a baseline understanding of what adjustments are needed.
Adjusting pH and Alkalinity Levels
After testing, adjust the pH and alkalinity levels as necessary. The pH level affects the comfort and safety of the water, while alkalinity acts as a buffer to pH changes.
Ideal pH Range
The ideal pH range for pool water is between 7.2 and 7.8. This range is considered optimal for swimmer comfort and to prevent eye irritation.
Total Alkalinity Targets
Total alkalinity should be between 80 and 120 ppm (parts per million). This range helps stabilize the pH, preventing sudden changes that could be harmful or require frequent adjustments.
Calcium Hardness and Stabilizer Considerations
Calcium hardness and stabilizer levels are also crucial. Calcium hardness prevents corrosion of the pool equipment and plaster damage, while stabilizer (CYA – Cyanuric Acid) protects chlorine from being degraded by sunlight, thus enhancing its effectiveness.
By following these steps and maintaining the proper chemical balance, you can enjoy a clean, safe, and healthy swimming environment throughout the spring and beyond.
Shocking Your Pool for Spring
To ensure a safe and clean swimming environment, shocking your pool in spring is essential. Shocking your pool is a critical process that removes built-up contaminants and oxidizes organic matter that has accumulated over the winter months. This process helps in eliminating bacteria, algae, and other harmful substances that can make your pool water unsafe or unappealing.
How Much Chlorine to Use When Shocking
The amount of chlorine to use when shocking your pool depends on several factors, including the size of your pool, the type of chlorine you’re using, and the level of contamination. Generally, you’ll need to use a non-chlorine shock or a chlorine-based shock treatment. For most pools, using 1-3 pounds of shock treatment per 10,000 gallons of water is recommended. However, it’s crucial to follow the manufacturer’s instructions for the correct dosage.
Best Practices for Pool Shocking
When it comes to pool shocking, there are several best practices to keep in mind. These include timing your shock treatment correctly and taking necessary safety precautions.
Timing Your Shock Treatment
It’s best to shock your pool in the evening or at night when the sun is down. This helps prevent the chlorine from being degraded too quickly by UV rays. Additionally, avoid shocking your pool during peak sun hours or when the pool is in use.

Safety Precautions
When handling pool shock, it’s essential to wear protective gear, including gloves and goggles. Also, ensure that the pool area is well-ventilated to avoid inhaling the fumes. Always follow the manufacturer’s instructions for handling and application.
- Always wear protective gear when handling pool chemicals.
- Ensure the pool area is well-ventilated.
- Follow the manufacturer’s instructions for the correct dosage and application.
Dealing with Common Pool Opening Problems
Opening your pool after winter can be a challenging task, especially when faced with unexpected problems like green or cloudy water. Even with proper maintenance and preparation, some issues may still arise, requiring immediate attention to get your pool swim-ready.
Green or Cloudy Pool Water Solutions
One of the most common problems pool owners face when opening their pool is green or cloudy water. This issue is often caused by algae growth during the winter months. To address this, you’ll need to use algaecide and clarifiers.
Algae Treatment Steps
- Test your pool water to determine the type and severity of algae growth.
- Apply an algaecide specifically designed for your type of algae.
- Run your pool filter continuously for at least 24 hours to circulate the algaecide.
Clarifier Usage
After treating algae, use a clarifier to help clear cloudy water. Clarifiers work by coagulating tiny particles, making them easier for your filter to remove.
Addressing Pool Leaks After Winter
Pool leaks are another common issue that may arise after winter. Detecting and addressing leaks promptly is crucial to prevent further damage.
Detection Methods
- Use a dye test to visually identify leaks.
- Listen for the sound of running water to detect hidden leaks.
- Inspect your pool equipment and plumbing for signs of leakage.
Temporary Fixes
Once you’ve detected a leak, you can apply temporary fixes until a professional can assess and repair the issue. Use a pool repair kit to patch small leaks, and consider using a pool liner patch for larger tears.
| Issue | Cause | Solution |
|---|---|---|
| Green or Cloudy Water | Algae Growth | Algaecide and Clarifier |
| Pool Leaks | Damage from Winter | Detection and Temporary Fixes |
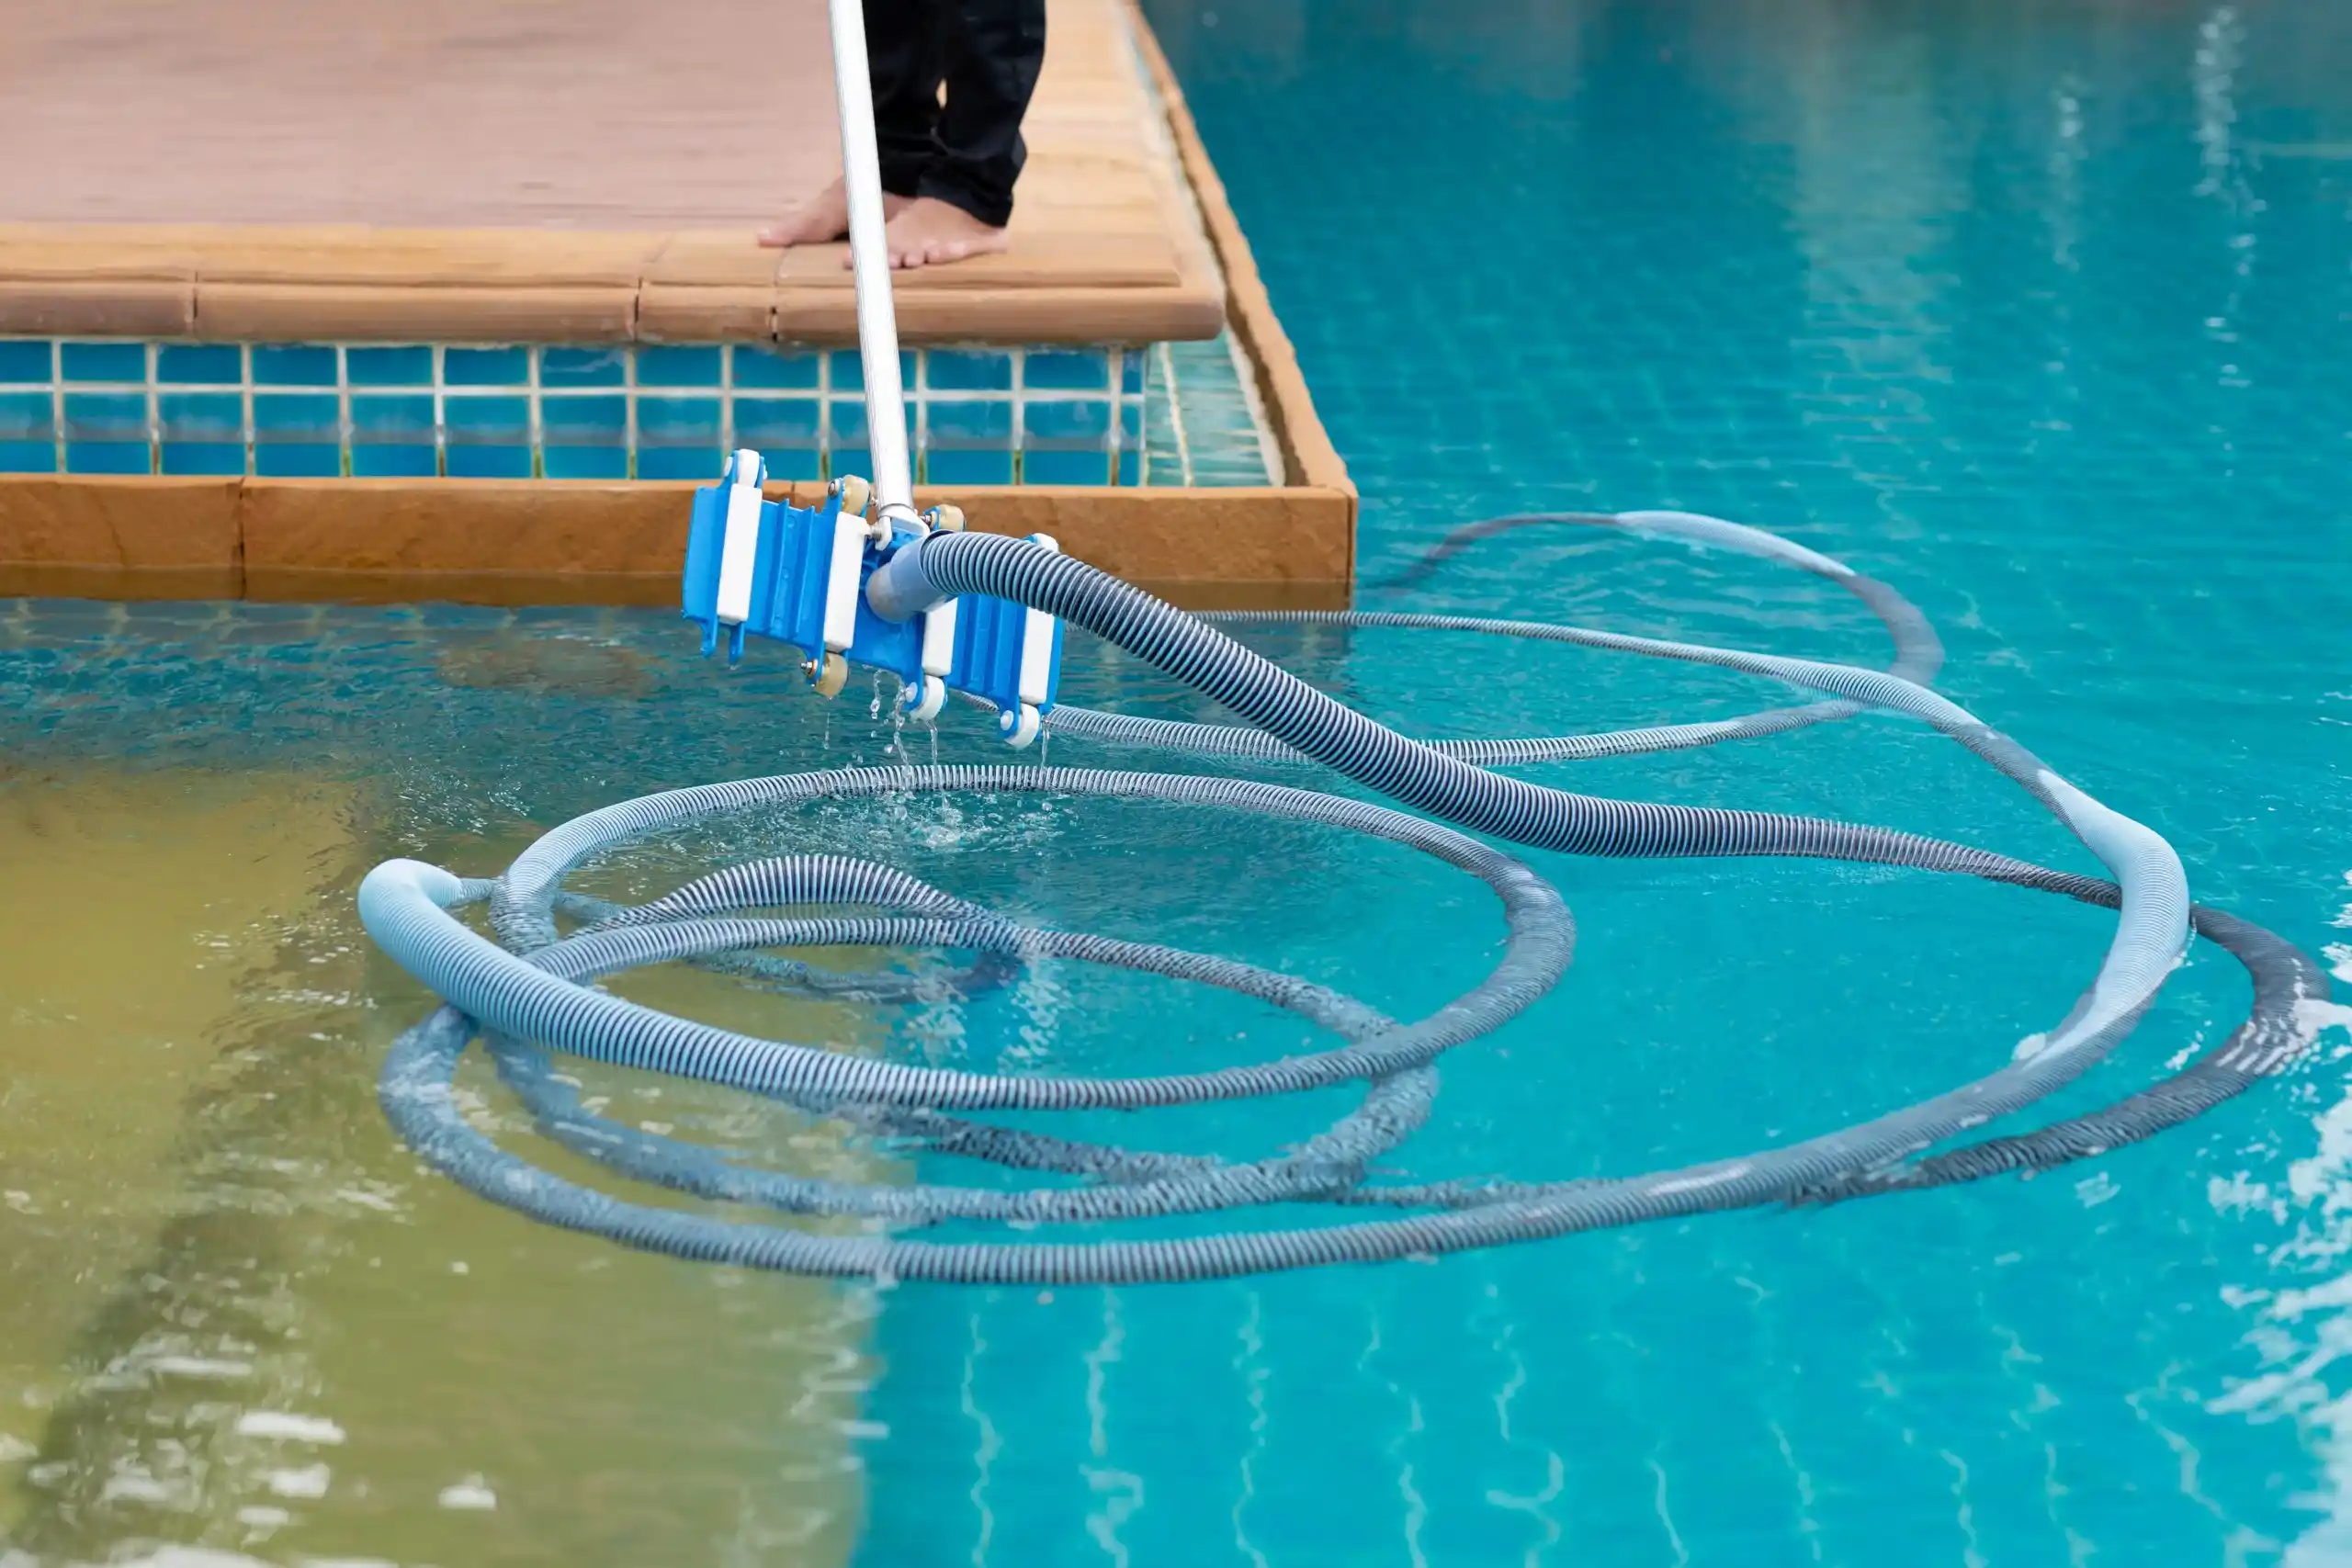
Vacuuming and Maintaining Your Pool
To ensure your pool is clean and safe for swimming, proper vacuuming and filter maintenance are essential. Regular maintenance not only keeps your pool looking its best but also prolongs the life of your equipment and ensures a healthy swimming environment.
Proper Vacuuming Techniques
Vacuuming your pool regularly is crucial for removing dirt and debris that can accumulate on the pool floor and walls. Start by setting your pool vacuum to the correct setting for your pool type, whether it’s a manual vacuum or an automatic cleaner. Move the vacuum slowly and methodically to cover the entire pool surface, paying extra attention to areas around steps and ladders where debris tends to collect.
Backwashing Your Pool Filter
Backwashing is a critical maintenance task for pool owners, especially for those with sand, cartridge, or DE filters. It involves reversing the flow of water through the filter to remove dirt and debris that can clog the system.
When to Backwash
You should backwash your pool filter when the pressure gauge indicates a rise of 8-10 psi above the normal operating pressure. The frequency can depend on how often you use your pool and the type of filter you have.
Backwashing Procedure
To backwash your filter, first turn off the pump. Then, switch the valve to the “backwash” setting and turn the pump back on. Let it run until the water in the sight glass is clear, usually a few minutes. After backwashing, rinse the filter by running the pump for a short period with the valve set to “rinse.” Finally, return the valve to its normal filter setting and resume operation.
Conclusion: Enjoying Your Swim-Ready Pool
With your pool now swim-ready, it’s time to relax and enjoy the warm weather with family and friends. Maintaining your pool’s chemical balance is crucial to ensure a safe and healthy swimming environment. Regularly check the water level to prevent damage to your pool and its equipment.
Properly storing your winter plugs or freeze plugs will also help extend the lifespan of your pool equipment. By following this comprehensive guide, you’ve taken the necessary steps to prepare your pool for the new season. Now, you can focus on enjoying your pool and making memories with loved ones.
Regular maintenance is key to a stress-free pool ownership experience. Stay on top of your pool’s upkeep, and you’ll be able to enjoy a refreshing swim all season long.
FAQ
How do I know if my pool is ready to be opened after winter?
Check the weather forecast for a few consecutive days of warm weather, and inspect your pool for damage or debris. If the pool is clear of debris and the equipment is in good condition, it’s likely ready to be opened.
What’s the best way to remove the winter pool cover?
Start by pumping water off the cover using a submersible pump or a wet/dry vacuum. Then, safely remove the cover, taking care not to scratch the pool surface or surrounding areas.
How do I prime a pool pump after winter?
Follow a step-by-step priming process, ensuring the pump is properly seated and the system is free of air leaks. Check the manufacturer’s instructions for specific guidance on priming your pool pump.
What’s the ideal pH range for my pool water?
The ideal pH range for pool water is between 7.2 and 7.8. Adjust the pH levels accordingly to ensure a safe and healthy swimming experience.
How much chlorine should I use to shock my pool?
Determine the correct amount of chlorine to use based on your pool size and type. A general rule of thumb is to use 1-3 pounds of chlorine per 10,000 gallons of water.
Why is my pool water cloudy or green after opening?
Cloudy or green pool water can be caused by algae growth, dirt, or debris. Use algaecide and clarifiers to treat the issue, and consider shocking the pool to remove built-up contaminants.
How often should I backwash my pool filter?
Backwash your pool filter according to the manufacturer’s instructions, typically every 1-3 weeks, depending on usage and filter type.
What should I do if I detect a pool leak after winter?
Use detection methods like dye tests or listening for leaks to identify the source of the leak. Apply temporary fixes until a professional can assess and repair the issue.
How do I store my winter pool cover properly?
Clean and dry the cover, then fold or roll it according to the manufacturer’s instructions. Store it in a dry, protected area, away from direct sunlight and moisture.
What’s the importance of total alkalinity in my pool water?
Total alkalinity helps stabilize the pH levels in your pool water, preventing sudden changes that can damage equipment or cause eye irritation. Aim for a total alkalinity level between 80-120 ppm.